Are you planning your trip to Japan? You have booked your flights and hotels. But wait. How will you connect to the internet?
Google Maps is essential in Japan. Without it, the complex trains in Tokyo are a nightmare.
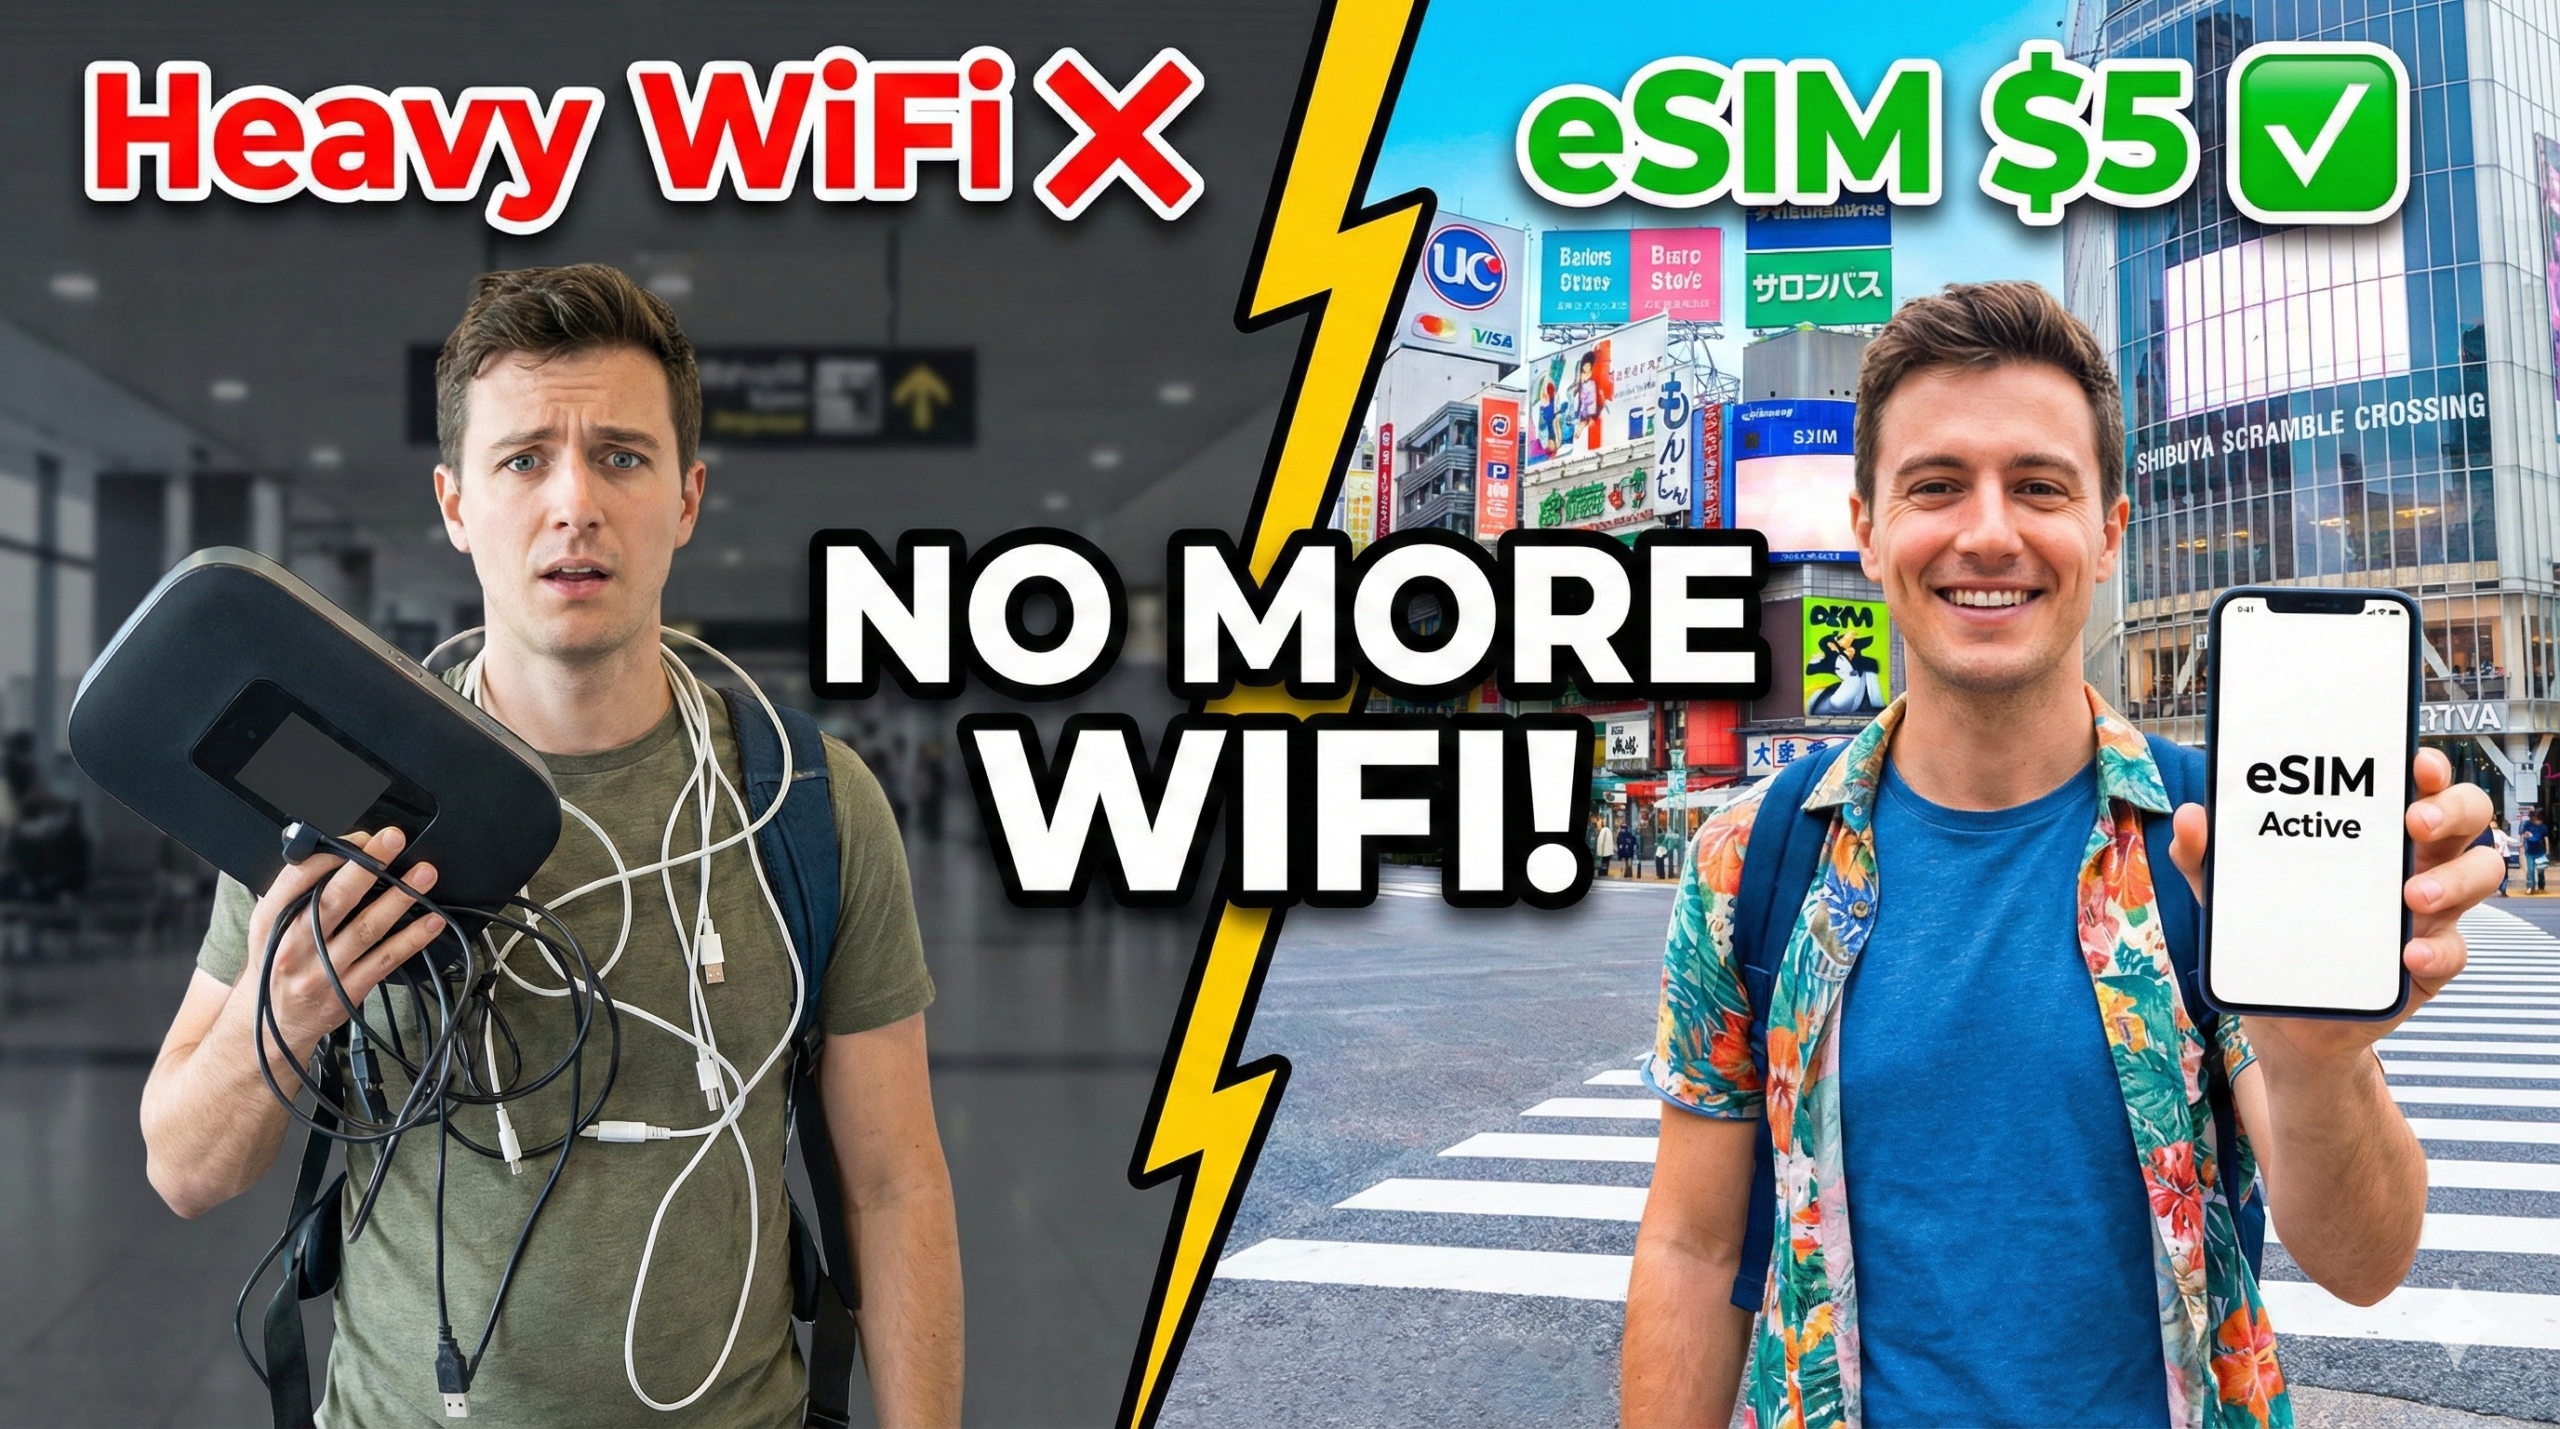
Many travelers rent a “Pocket WiFi” at the airport. But honestly? That is the “Old Way”. It’s heavy, requires charging, and return is a hassle.
Quick Verdict: The Best eSIM for Japan (2026)
🏆 Best Choice: Klook 4G eSIM
Cheap, Fast, and Reliable (Docomo/Softbank Network).
*Instant Delivery via Email within 1 min
eSIM vs Pocket WiFi: Why switch?
Why is everyone switching to eSIM? Let’s compare the features. The difference is clear.
⚠️ CRITICAL CHECK: Before You Buy
🔒 Is your phone “Unlocked”?
To use an eSIM, your phone must be SIM-Free (Unlocked).
If you bought your phone from Verizon, AT&T, or T-Mobile on a contract, it might be “Carrier Locked”. Please check your settings or contact your carrier to unlock it before flying to Japan!
✅ Compatible Models:
- 🍎 iPhone XR, XS, 11, 12, 13, 14, 15, SE2/3 or newer.
- 🤖 Samsung Galaxy S20+, Google Pixel 4+, and newer.
- *US iPhone 14/15/16 models are eSIM ONLY (No physical slot), so this eSIM is perfect for you.
Step-by-Step Setup Guide (Takes 3 mins)
It is easier than you think. You don’t need to be a tech expert.
1. Buy Online
Purchase on Klook before your trip. You will receive a QR Code via email instantly.
2. Scan & Install
Open Settings ➡ Cellular ➡ Add eSIM. Scan the QR code.
💡 Pro Tip: If you only have one phone, save the QR code image to your Photos app. Select “Open Photos” when adding eSIM to scan it!
3. Arrive in Japan
Turn ON the eSIM line when you land.
Important: Turn ON “Data Roaming” in settings. You are now connected!
FAQ: What You Need to Know (Crucial!)
Final Verdict
💡 Pro Tip: Buy it 1 day before you fly.
You can set it up at your home airport. Connect to the internet the moment you land!
👉 Get Japan eSIM Now*(Instant confirmation & Easy setup)


コメント